Learning how to make a comic storyboard is the single skill that separates comics that get finished from comics that stay stuck in your head. Before you draw a single clean line—or generate a single AI panel—you need a storyboard. It maps every page, every beat, every camera angle. This guide walks you through the full process: rough thumbnails, panel structure, page planning, and how modern AI tools fit into a real storyboarding workflow.
What Is a Comic Storyboard and Why Does It Matter?
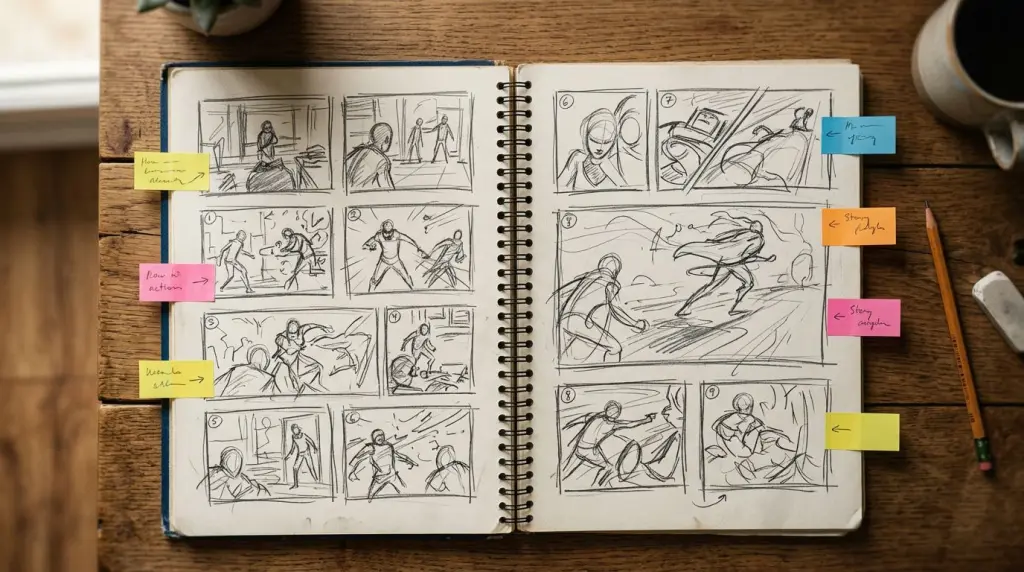
A comic storyboard is a rough, low-fidelity map of your entire story broken into pages and panels. It shows panel layout, character placement, camera angles, and dialogue flow before any finished art is created. Storyboarding a comic early prevents costly rework and keeps pacing tight.
Think of it as a blueprint. Architects don't skip blueprints because the building looks obvious in their head. You shouldn't skip storyboards because your story feels clear.
Here's what a storyboard actually controls:
- Pacing. A six-panel grid reads slower than a two-panel spread. Your storyboard decides which one a scene gets.
- Camera logic. Establishing shot → medium shot → close-up. If you don't plan this, panels feel random.
- Dialogue placement. Speech bubbles eat panel real estate. Rough thumbnails show you when a panel is too text-heavy before you've drawn anything.
- Page turns. The biggest emotional beats belong at the bottom-right panel of a right-hand page. Readers flip and hit the reveal. Storyboards let you engineer that.
How to Make a Comic Storyboard: The 5-Step Process
To storyboard a comic, break your script into scenes, sketch page-sized thumbnail boxes, drop stick figures into rough panel compositions, mark dialogue and caption placement, then review pacing before moving to final art. The whole process should stay fast and disposable—thumbnails are meant to be thrown away.
Here's the step-by-step breakdown.
Step 1: Break Your Script Into Pages
Start with your script or story outline. Count your scenes. Estimate how many pages each scene needs. A standard webtoon episode runs 40–70 panels. A manga chapter runs 16–24 pages at roughly 4–6 panels per page.
Write a simple scene list:
Scene 1 — Rooftop confrontation — 3 pages
Scene 2 — Flashback — 2 pages
Scene 3 — Resolution — 2 pages
This is your comic page planning skeleton. Everything else hangs off it.
Step 2: Draw Thumbnail Panels
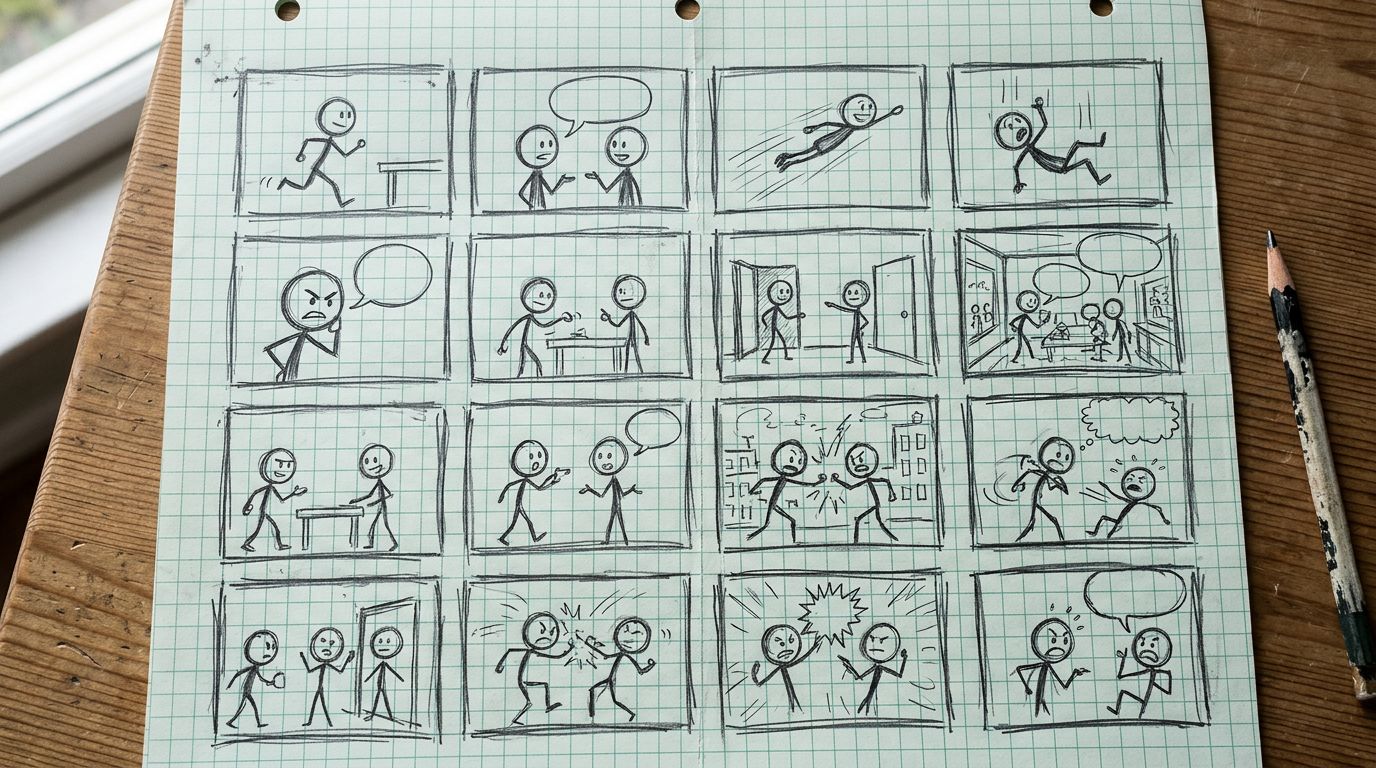
Grab a sheet of paper. Draw small rectangles—about the size of a playing card—to represent each page. Divide each rectangle into panels. Don't draw real characters. Use circles for heads, lines for bodies, arrows for motion.
Comic thumbnails are intentionally ugly. Their only job is to answer: Does this composition work? Does the eye move correctly across the page?
For each panel, note:
- Shot type (wide, medium, close-up, POV)
- Who is in frame
- What action is happening
- Where dialogue sits
Step 3: Check Your Panel Flow
In left-to-right reading comics (Western, webtoon), the eye travels left to right, top to bottom. In right-to-left manga, it reverses. Your storyboard template should match your target format.
Common flow mistakes to catch at thumbnail stage:
- A character faces left in one panel, then suddenly faces right in the next with no cut justification
- Two panels in a row with identical framing (static, boring)
- A wide establishing shot buried in the middle of a page instead of opening it
Fix these now. Fixing them in final art costs ten times more time.
Step 4: Mark Dialogue and Caption Zones
Draw rough speech bubble shapes directly on your thumbnails. If the bubble covers more than 30% of a panel, that panel needs to be recomposed or the dialogue needs to be trimmed.
This is the step most beginners skip. They write dialogue in a script, then discover it doesn't fit the art. Storyboarding a comic with dialogue placeholders eliminates that problem entirely.
Step 5: Review Pacing Before You Commit
Lay all your thumbnail pages out in sequence. Read through them like a reader would. Ask:
- Does the story breathe? Or is every page dense and exhausting?
- Are the big emotional moments getting the panel space they deserve?
- Does each page end on something that makes a reader want to turn?
Adjust page counts, split panels, or merge scenes. This is fast at thumbnail stage. It's brutal at final art stage.
Using a Storyboard Template
A storyboard template is a pre-formatted page grid that gives you consistent panel proportions across your entire comic. Using one speeds up thumbnailing, keeps your page rhythm consistent, and makes it easier to hand off work to collaborators or AI tools.
For print comics, a standard template is a 2×3 or 3×3 grid on a vertical page. For webtoons, use a single-column vertical strip with variable panel heights. For manga, a 4–6 panel asymmetric grid on a 180×270mm page is the industry standard.
You can build a storyboard template in any drawing app—Procreate, Clip Studio Paint, even Google Slides. Print a stack and thumbnail by hand. Or use a digital tool that generates panel layouts automatically.
If you're adapting an existing story—a novel, a Wattpad chapter, a short story—check out How to Turn a Novel Into a Webtoon: The Complete Adaptation Guide for a workflow that starts from prose and ends at a storyboard-ready panel list.
Worked Example: Storyboarding a 3-Page Fight Scene
Here's a concrete before/after.
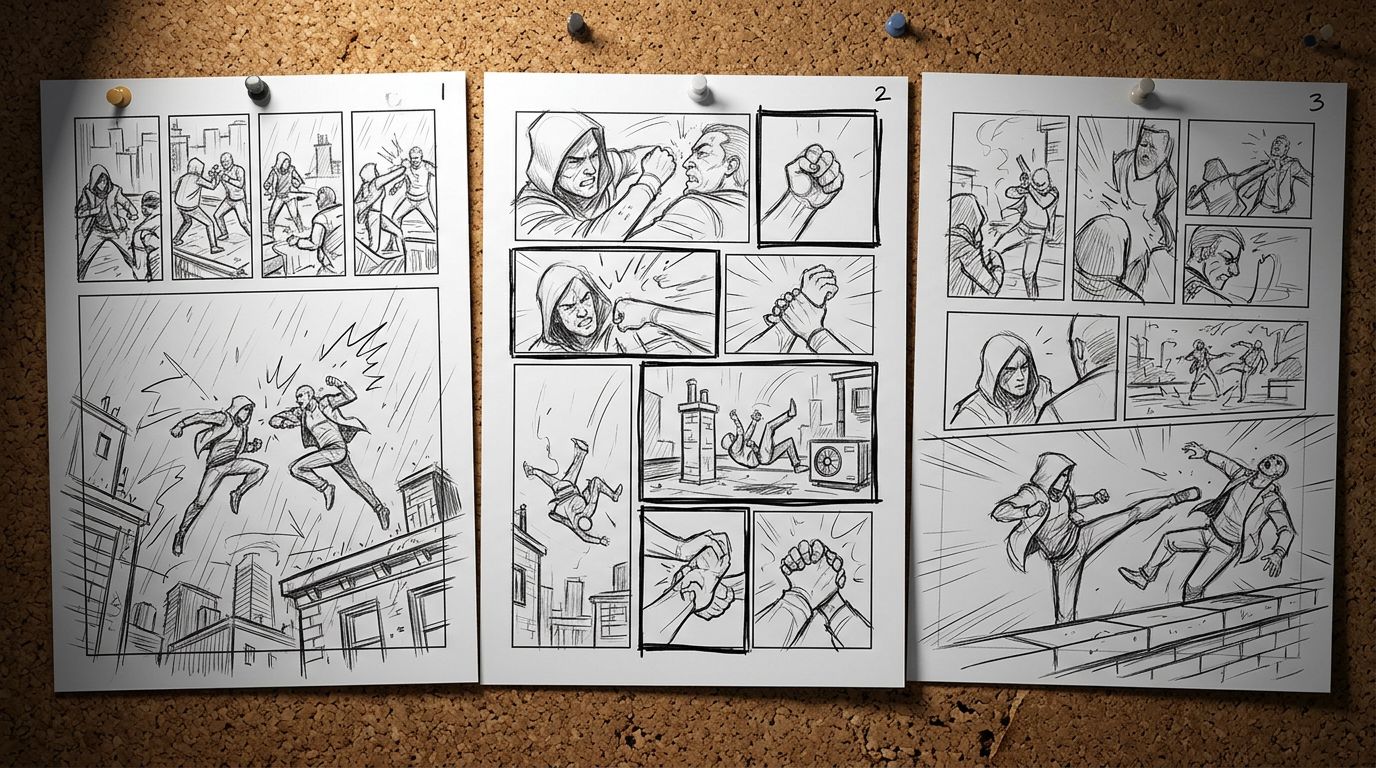
The scene: Two characters face off on a rooftop. One throws a punch. The other dodges. A third character watches from the shadows.
Before storyboarding (common mistake): Writer describes the scene in prose. Artist draws six equally-sized panels. Every panel is a medium shot. The fight reads like a slideshow, not a fight.
After storyboarding:
- Page 1, Panel 1: Wide establishing shot — rooftop, city skyline, both characters in silhouette
- Page 1, Panel 2: Medium shot — Character A's face, tense
- Page 1, Panel 3: Close-up — Character A's fist clenching
- Page 1, Panel 4: Full-width panel — the punch thrown, motion lines
- Page 2, Panel 1: Close-up — Character B's eyes widening
- Page 2, Panel 2: Wide panel — Character B dodging, body blur
- Page 2, Panel 3: Small panel — Character C watching from shadow, face half-lit
- Page 3: Two-panel spread — aftermath, both characters breathing hard
The storyboard forced a shot variety that the prose description never specified. The page turn between Page 1 and Page 2 lands on the punch. The reader flips and sees the dodge. That's engineered tension—and it only exists because of the storyboard.
How AI Tools Fit Into the Storyboard Workflow
AI comic tools don't replace storyboarding—they execute it faster. You still plan pages, decide shots, and control pacing. The AI handles rendering. The best AI workflows treat your storyboard as the source of truth and generate panels one at a time, letting you regenerate any single panel without rebuilding the whole page.
Here's where AI actually helps:
- Rapid panel generation from panel descriptions. Instead of sketching rough art, you describe each panel and the AI renders it. Your storyboard becomes the prompt list.
- Character consistency across panels. A locked character design means the same face appears in panel 3 and panel 47. This is one of the hardest problems in AI comics—tools that solve it save hours.
- Iterating on compositions. Don't like the camera angle? Regenerate that one panel. The rest of the page stays intact.
TabStory's AI storyboard generator is built around this workflow. You input your scene descriptions, lock your character cast, and generate panels in sequence. If panel 5 of page 3 looks wrong, you regenerate panel 5. The locked cast keeps characters consistent across the whole chapter.
For a full walkthrough of the AI comic creation process, see How to Make a Comic with AI in 2026 (Step-by-Step Guide).
If you're working from a Wattpad story or existing prose, How to Turn Your Wattpad Story Into a Comic (Without Hiring an Artist) covers how to adapt chapters directly into storyboard-ready panel scripts.
What Still Breaks: The Failure Case
Here's what doesn't work yet, even with the best AI tools.
Complex multi-character action panels. When three or more characters interact physically—a group fight, a crowd scene, a team huddle—AI generation still struggles with spatial relationships. Character A's arm ends up at the wrong angle relative to Character B. Limbs clip through each other. The storyboard tells the AI what should happen, but the AI can't always execute the geometry.
The fix: break complex group panels into two or three tighter panels. A wide shot of the group, then a close-up of the key interaction. This is actually better storytelling anyway—and your storyboard stage is where you make that call before it costs you generation credits or redraw time.
FAQ
Do I need to be able to draw to storyboard a comic?
No. Comic thumbnails are stick figures and boxes. The goal is composition and pacing, not finished art. If you can draw a circle and a rectangle, you can thumbnail a comic page. Many professional comic writers storyboard entirely in stick figures and hand off to artists or AI tools from there.
How many panels should a comic page have?
For print comics, 4–6 panels per page is standard. Fewer panels give each moment more weight. More panels speed up the pace. Webtoon episodes use more panels total but stack them vertically. There's no single right answer—your storyboard is where you test what works for your specific story.
Can I use a storyboard template for both manga and webtoons?
You need different templates for each format. Manga uses a vertical print page (roughly 180×270mm) with asymmetric panel grids and right-to-left reading order. Webtoons use a vertical scroll format, typically 800px wide with no fixed page height. Start with the right template for your target platform or your panel flow will feel wrong to readers of that format.
Your storyboard is the most important document in your comic project. Build it before you draw anything, before you generate anything. Once it's solid, the rest of the process moves fast.
Ready to turn your storyboard into finished panels? Try TabStory's AI storyboard generator to generate your panel sequence with a locked character cast—no redrawing, no consistency headaches.